My Blessed Family!

My Blessed Family!

Saturday, March 23, 2013

Easter Cake

Would you like to wow everyone at that special event for Easter?  Check out this cake...

Do you want to make this?  If so let's get started.  I made the actual cake last night and ended up icing the cake and assembling it this morning. 

Here's what you will need for the actual cake.  2 sticks of unsalted butter (at room temperature), 3 cups of all-purpose flour, 1 tbsp of baking powder,  1/2 tsp. salt, 1 3/4 cups sugar, 4 large eggs (at room temperature), 1 tbsp vanilla extract, 1 1/4 cups of whole milk.
If you are anything like me...you count the items in the picture and you notice there is 1 extra item.  But I don't think there is anyone as crazy as I am. :)  I measured out some baking soda but that does NOT go in the cake...so only the items I mentioned above is what goes in it.

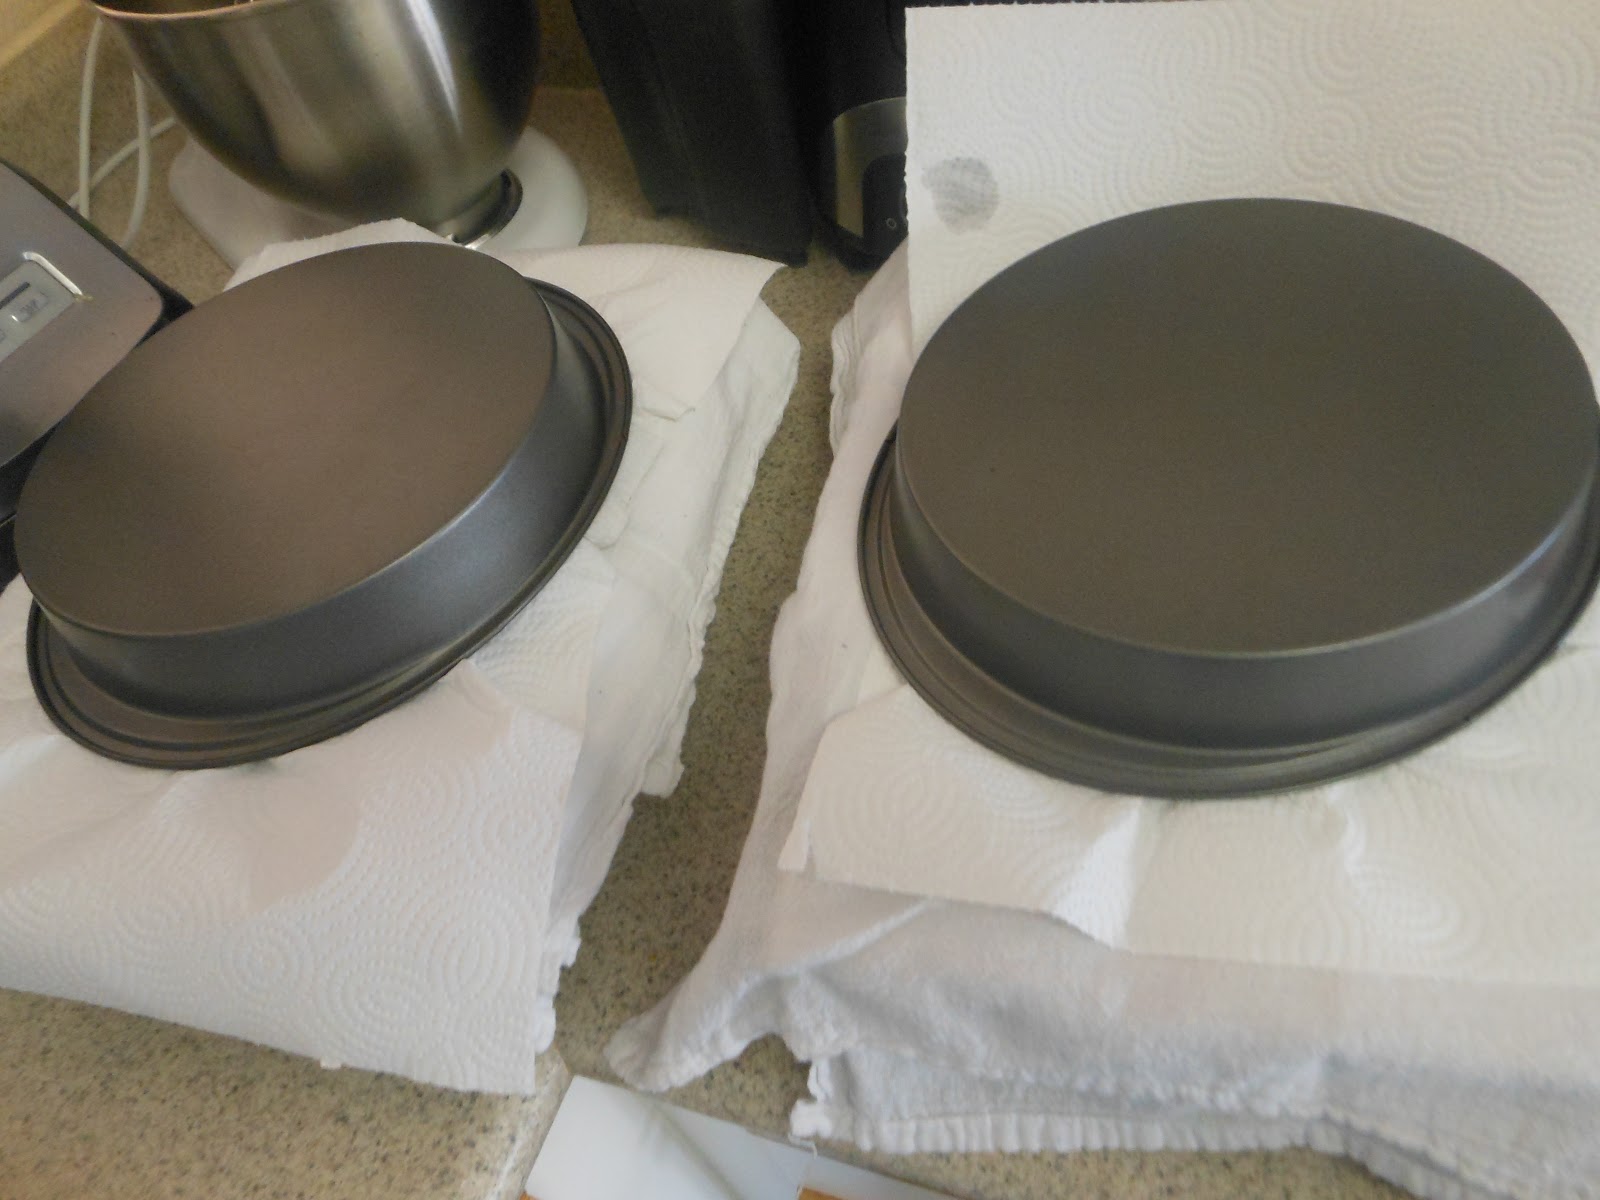
Preheat your oven to 350 degrees.  Spray 2 round cake pans with bakers joy; make sure to coat thoroughly so that your cakes don't stick. 

Whisk your flour, baking powder and salt in a bowl until combined.
Beat your 2 sticks of butter and sugar with a mixer on medium high speed until light and fluffy.


Reduce the speed of your mixer to medium and add in 1 egg at a time.
Oh wait!!!  Make sure to each egg crack it...one at a time.  Yeah we shouldn't assume things should we.


Add in your vanilla.  At this point it may look separated; it's ok...it's suppose to look like this.


We now need to add in our flour.  Let's do 3 batches....1....2....3...starting with flour then add milk....then add flour...then add milk....more flour....last part of the milk....then all the flour.  Make sure to start with flour and end with flour.

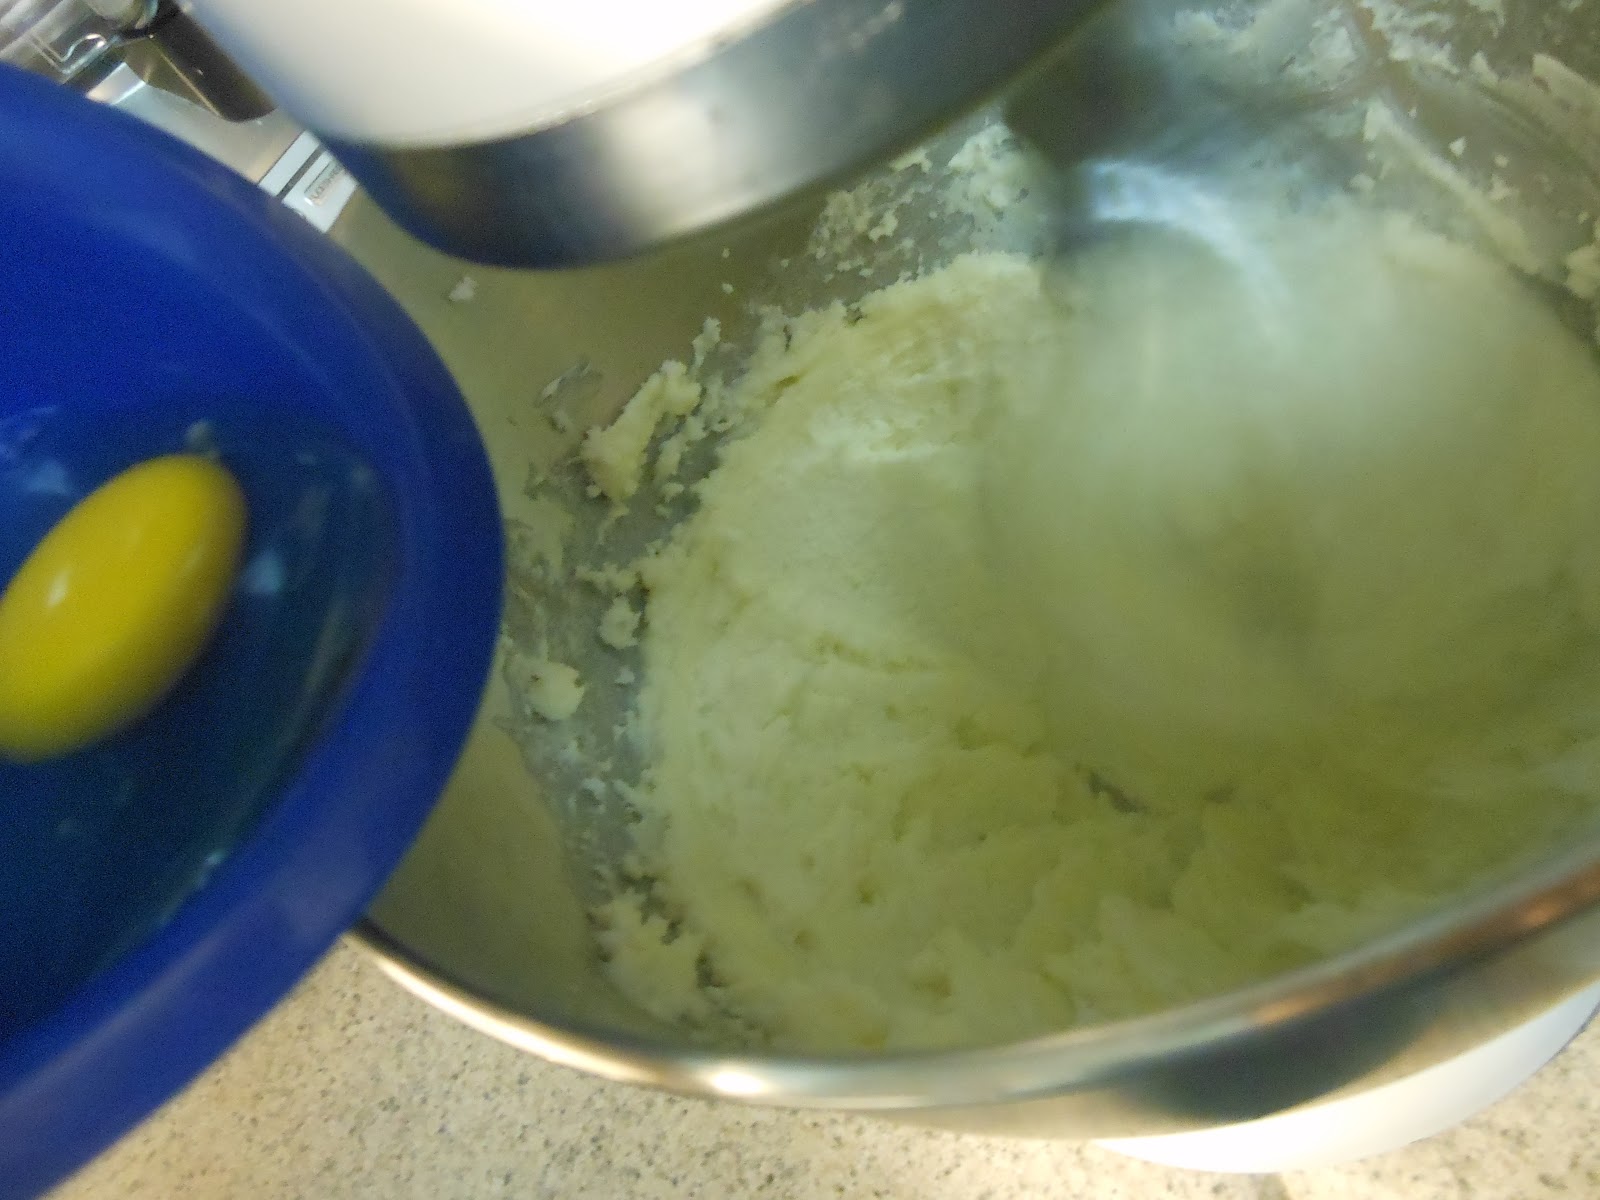
Keep mixing till smooth.

Divide the batter between the two pans. 

In that picture the cakes look like gravy....yum...gravy.  Biscuits you say?  

Sorry back on track here.

Bake for approximately 30 to 35 minutes; till the cakes are lightly golden on top and toothpick inserted in the middle of the cakes comes out clean.

Let your cakes cool in the pans on the cooling racks for 10 minutes.  Once those 10 minutes are up it's time to test your baker's joy coating skills.  Flip the cakes out onto the cooling racks.  I place them on a pastry towel so that I don't get the cooling rack creases on my cake.
Silly I know....but that's just me.


Oh my...I'm nervous......

Did it stick?  We are almost there.

Yippee....look at that.  So I guess my bakers joy skills are good.  How about yours?  How did you do?

Oh wait...you are probably just reading this now and then going to make it later.  So re-read the top part and just skip the last 2 questions.  Then if you are reading this the second time cause you are making it...now you can read the last 2 questions.  So...how did you do?

Place some paper towels over the cake to cover it and place your pan back on top.  One at a time..

Oh my goodness....where did my cake go?  Oh yeah duh I covered it with paper towels.

Now just let them completely cool. 
La
La
La
De
De
De
Da
Da
Da
Ok..now let's make the icing.  Yum yum!


1 stick of softened butter, 8 oz of softened cream cheese (well room temperature), 2 tsp. vanilla extra, 2 pounds of powder sugar, and water.  There is no exact amount of water so we are going to play it by ear, sight, taste, whichever you prefer.

Cream together your cream cheese and butter till all mixed together.


Lookin' good.
Now add in your vanilla extract. And mix well into the cream cheese and butter.


Add in your powder sugar; little bit at a time.  Make sure to not have your mixer up too high cause then all the powder sugar you put in there will end up on the floor.  How do I know?  Cause it happened to me...so I know from experience.  Trust me on this one.
So you are adding a little bit of powder sugar..mixing together...add a little bit of water....more powder sugar...more water only if needed....add the powder sugar till it's all gone.  Only add water if it looks too thick.

Here's what it should look like at the end.


Not too thick and not too thin; just right to be able to spread on your cake.
Make sure to keep this covered until you are ready to use it cause it will thicken up quick.

Let's go ahead and color our coconut.  All you need for this is a big freezer bag, green food coloring, and coconut of course.
Place your coconut in the freezer bag.  Then put a few drops on the side of the bag..NOT right on top of the coconut cause then you will have some parts that will be too dark.  You just want it to be a light green color since it will represent the grass on top of the cake.

Now we are ready to ice the cake and make it all pretty.
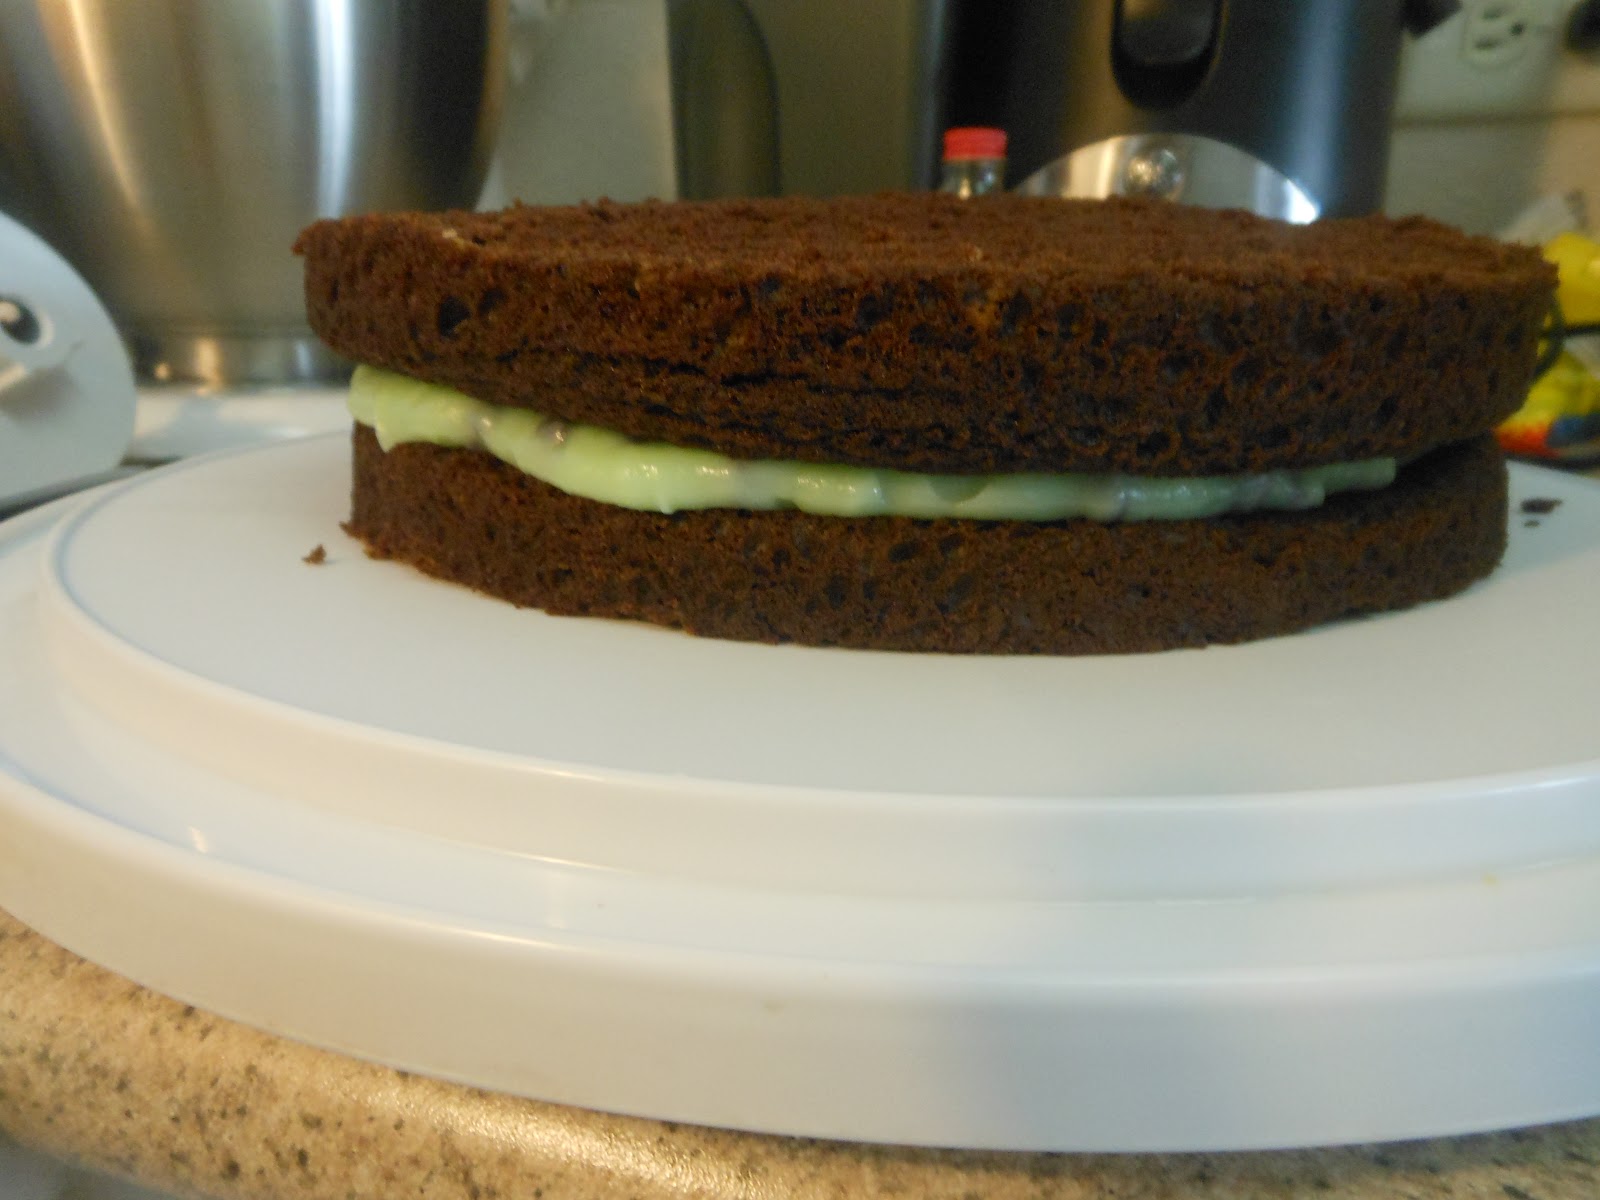
Take one of the cake and place it on your platter and place a spoon full of the icing on top it.
Spread it around to cover the cake.
Place the other layer on top of that.


And ice away.  Start on one section of the cake and allow the icing to smooth down the edge.  Continue till all of the cake is covered. 
Don't worry about the way the icing looks it's going to be all covered anyways. 
Wow...that's really hard for me to say.  But since I had my husband right there telling me over and over again...IT'S OK.  I finally said..whatever....fine....I'll move on.

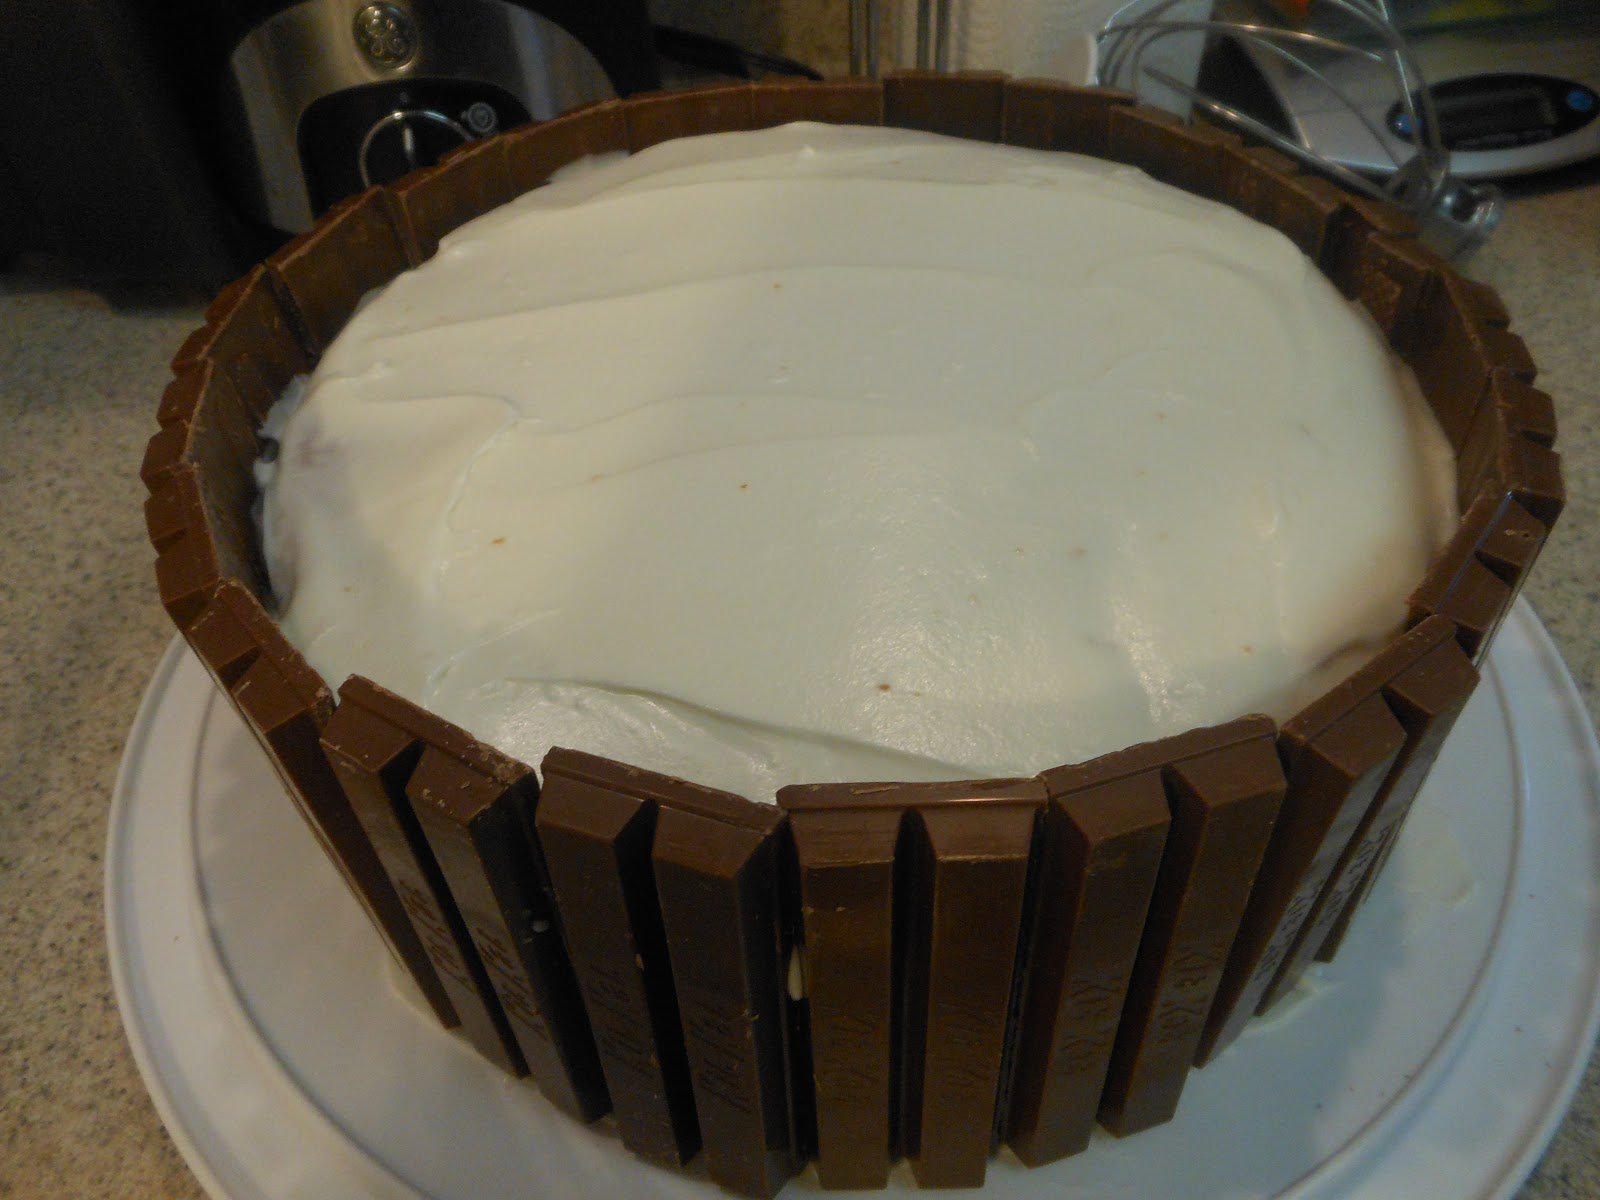
We are now going to put the kit kats around the edges...it took exactly 11 packages of kit kats.  I placed 2 of them at a time on there instead of 1.  Continue around the whole cake till it's all covered.


Let's put our grass on top of that.


And now our eggs.


And we are done....PRETTY!!!  We have an Easter basket cake.

ENJOY!!!


Tuesday, March 19, 2013

St. Patricks Day Cake

Oh where Oh where have I been?  I had to dig and search for new recipes.  So here I am with a new recipe.  Today we are having Home Groups; and everyone knows how much I love to bake/cook for others.  So I took the opportunity to make something that had something green in it.  So I chose a Grasshopper cake.
I just realized what a tall cake this is.  But I'm sure it tastes as great as it looks. 

Don't mind the other mess on my kitchen counter.  Peppermint Extract, kids medicine, crumbs...what a mess. 
Here's the ingredients just for the cake part:
Let's see there's sugar, flour, sour cream, baking powder, baking soda, salt, eggs (make sure they are at room temperature), vanilla extra, vegetable oil, cocoa powder, and not pictured is boiling water.
I'm not going to waste any time at all...I'm going to just dig right on in on how to make this bad boy.
I have mentioned this in my past blogs that it makes it so much easier and faster to have everything all measured out and ready to go.  Saves on time.
I'm stalling arn't I? :) 
Seriously...here's how I did it.

Once your water is done boiling, mix your cocoa powder with the boiling water.  Don't worry I'll have the link to the recipe at the end of the blog so you know how much of everything to put. Whisk that together till it's all mixed; then set aside.

Now whisk together your sugar, flour, baking powder, baking soda, and salt until all combined. 

If you have a kitchen aid you can use that bowl; but if not just use a large bowl.  Now with your kitchen aid/hand mixer add in the eggs, vegetable oil, sour cream, and vanilla and mix on medium speed until smooth. 

Reduce your mixer to low and slowly at a steady stream beat in the cocoa mixture; just until combined. 

Oh that just looks so pretty....chocolate!
Then turn off the mixer and remove the beaters.....and lick them before your children come into the kitchen and want to over take it and have them. :)
Now continue mixing with a rubber spatula. Then hand the spatula to your kids have them 1 of them lick one side and then the other 1 lick the other side. :)

Spray 2 round pans with Bakers Joy - make sure to get every crease.  It would be a nightmare if you pull your cakes out of the oven and remove them from the pans and they stick...oh not good. 

Divide the batter up between the 2 cake pans.


Place them in a 350 degrees oven for approximately 30 minutes.  Then check the cake after the 30 minutes are up with a toothpick; if the toothpick comes out clean it's done.  Success :)
Remove the cakes from the oven and let me cool on a rack for 10 minutes.  In the pan...did I say that? Nope ok....make sure to let the cakes cool in the pan on a cooling rack. 
After the 10 minutes prepare yourself......now it's time to get the cakes out of the pans.  There's a few ways you could do this.  If you are coordinated enough flip the pan onto the cooling rack.  Or you could flip the pan and place the top of the cake onto your hand and then place on the cooling rack.  If you are not coordinated them place a cooling rack upside down on top of the cake, hold the pan, then flip.  Did I just confuse you?  I hope not.  Do the flipping with both cakes.  Flip each one on a different cooling rack.
Remove the pan....slowly....slowly.....ok....take a deep breath.  And lookey there....perfect; if you sprayed enough baker's joy.

Let's get some paper towels...about 2; enough to cover your cake.  Place the paper towels over the cake and then place your pan back on top of the cake.  This will allow the cake to continue cooling without getting any moisture onto your cake.  Complete this process with both cakes.                                             


I actually made the cake part a day before actually assembling and finishing the rest.  I wanted to make sure that it was completely cooled..didn't want to take any chances.  If you choose to do that all you have to do is just keep the paper towels and pans on the cooling rack.  I placed my cakes on a pastry towel on top of the cooling rack.  And then covered the pans with a pastry towel. 

Once it's cooled completely it's time to get down to business.  Let's get started on making the filling.  This is going to be kinda like a custard.  Here's what you will need:


The preparation will go by quickly so I would recommend having all your ingredients already measure out.  Get the white chocolate chopped up and ready to go as well.
In additional to getting everything prepped I would recommend placing the sugar, cornstarch, peppermint extract, egg & egg yolk in a heatproof bowl and whisking together till smooth.


Place your milk in a saucepan and bring to a simmer. 
Take 1/2 of your simmerdy milk.  Is that even a word?  Simmerdy?  Well since new words are added daily in the dictionary let's just add that one as well.
Now that we have determined that; take 1/2 of  your simmerdy milk and gradually whisk into the egg mixture.  This is called tempered; I sure hope I spelt that right. :)

This picture is pretty good; my daughter had to take it.  Sometimes I wonder what I would do if I had 3 hands....I know...take pictures with one hand while using the other 2 to mix stuff.
Then place into the saucepan with the other milk. 

Reduce the heat to medium low whisking constantly till the mixture is bubbly and thick. 

Transfer to a bowl and stir in your chopped white chocolate and food coloring.  Stir until your white chocolate is melted. 

Place Saran wrap directly on top of the mixture as so:

Place in the fridge to let it get cool; approximately 1 hour or so.  Just a tip if you want to keep in the fridge longer or even overnight that's ok.  When you remove it from the fridge and it's too thick place it in the microwave for 10 minutes or so.  Just to thin it out A LITTLE...you don't want it too thin or too thick. 
Once it's cool stir in your mini chocolate chips.


We are almost done.  Let's make the topping now. 
Here's your ingredients for that:


Place your heavy cream, powder sugar, and peppermint extract in a bowl and beat on medium speed until thick; medium peaks will form.


Now we are ready to assemble this wonderful cake.  The recipe says to use 2 chocolate cakes; I actually took each chocolate cake and sliced in 1/2.  Here's a picture to show what I'm talking about.


Place one cake down and then apply some of the custard filling on top. 

Keeping the filling about an inch from the sides. 

Then place another cake on top of that, then more filling. 

Then another cake, and more filling.  Then the last cake on top.  When you place this one on top slightly press down and then will allow the filling to go to the edges of your cake. 

Then take your topping and place that on top of the cake...it doesn't have to look pretty.  Cause you are going to top it with more mini chocolate chips.  

YUM YUM YUM.  Now grab a knife and a fork and dig in. :)


If you would like the challenge and make this cake here's the recipe for the cake part: Chocolate Cake Recipe
And here's the link for the filling, topping, and assembling: Filling, Topping, and Assembling instructions

ENJOY!!!