

Don't mind the other mess on my kitchen counter. Peppermint Extract, kids medicine, crumbs...what a mess.
Here's the ingredients just for the cake part:

I'm not going to waste any time at all...I'm going to just dig right on in on how to make this bad boy.
I have mentioned this in my past blogs that it makes it so much easier and faster to have everything all measured out and ready to go. Saves on time.
I'm stalling arn't I? :)
Seriously...here's how I did it.
Once your water is done boiling, mix your cocoa powder with the boiling water. Don't worry I'll have the link to the recipe at the end of the blog so you know how much of everything to put. Whisk that together till it's all mixed; then set aside.


Then turn off the mixer and remove the beaters.....and lick them before your children come into the kitchen and want to over take it and have them. :)
Now continue mixing with a rubber spatula. Then hand the spatula to your kids have them 1 of them lick one side and then the other 1 lick the other side. :)


Remove the cakes from the oven and let me cool on a rack for 10 minutes. In the pan...did I say that? Nope ok....make sure to let the cakes cool in the pan on a cooling rack.
After the 10 minutes prepare yourself......now it's time to get the cakes out of the pans. There's a few ways you could do this. If you are coordinated enough flip the pan onto the cooling rack. Or you could flip the pan and place the top of the cake onto your hand and then place on the cooling rack. If you are not coordinated them place a cooling rack upside down on top of the cake, hold the pan, then flip. Did I just confuse you? I hope not. Do the flipping with both cakes. Flip each one on a different cooling rack.
Remove the pan....slowly....slowly.....ok....take a deep breath. And lookey there....perfect; if you sprayed enough baker's joy.

Let's get some paper towels...about 2; enough to cover your cake. Place the paper towels over the cake and then place your pan back on top of the cake. This will allow the cake to continue cooling without getting any moisture onto your cake. Complete this process with both cakes.

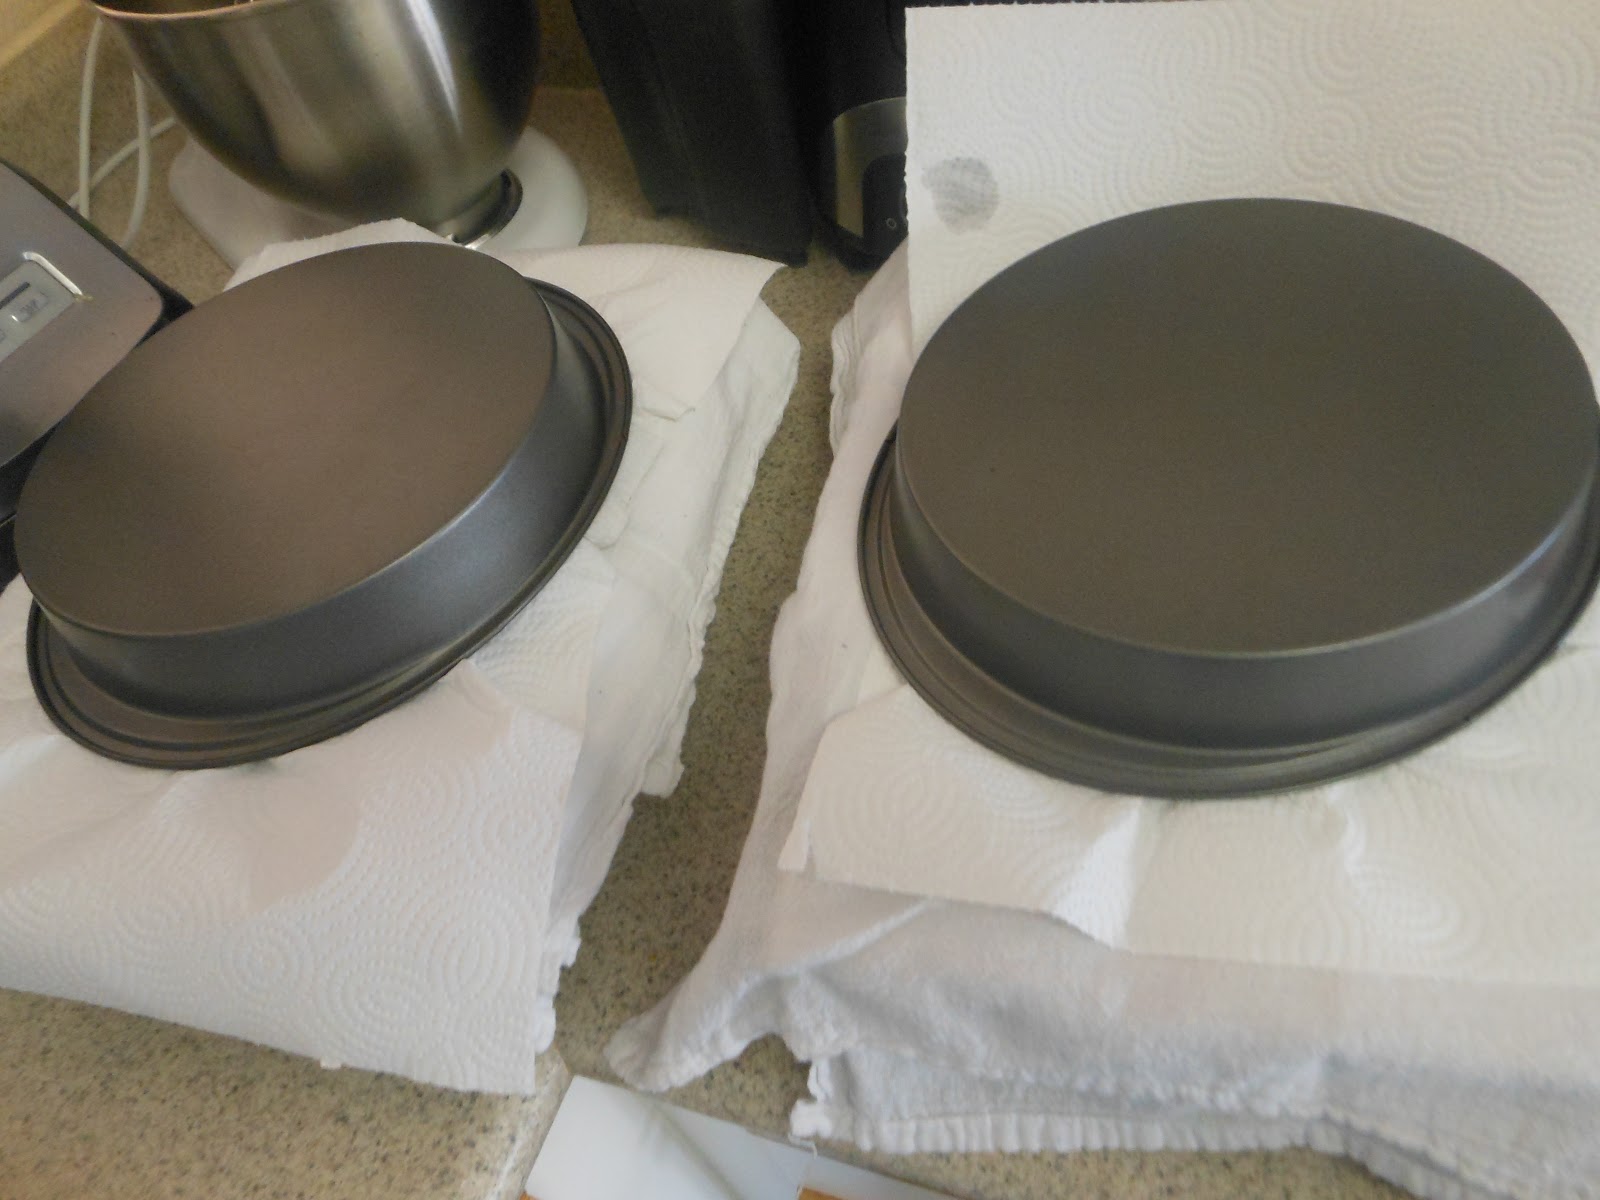
I actually made the cake part a day before actually assembling and finishing the rest. I wanted to make sure that it was completely cooled..didn't want to take any chances. If you choose to do that all you have to do is just keep the paper towels and pans on the cooling rack. I placed my cakes on a pastry towel on top of the cooling rack. And then covered the pans with a pastry towel.
Once it's cooled completely it's time to get down to business. Let's get started on making the filling. This is going to be kinda like a custard. Here's what you will need:

The preparation will go by quickly so I would recommend having all your ingredients already measure out. Get the white chocolate chopped up and ready to go as well.
In additional to getting everything prepped I would recommend placing the sugar, cornstarch, peppermint extract, egg & egg yolk in a heatproof bowl and whisking together till smooth.


Place your milk in a saucepan and bring to a simmer.
Take 1/2 of your simmerdy milk. Is that even a word? Simmerdy? Well since new words are added daily in the dictionary let's just add that one as well.
Now that we have determined that; take 1/2 of your simmerdy milk and gradually whisk into the egg mixture. This is called tempered; I sure hope I spelt that right. :)

Then place into the saucepan with the other milk.


Place Saran wrap directly on top of the mixture as so:

Place in the fridge to let it get cool; approximately 1 hour or so. Just a tip if you want to keep in the fridge longer or even overnight that's ok. When you remove it from the fridge and it's too thick place it in the microwave for 10 minutes or so. Just to thin it out A LITTLE...you don't want it too thin or too thick.
Once it's cool stir in your mini chocolate chips.


We are almost done. Let's make the topping now.
Here's your ingredients for that:

Place your heavy cream, powder sugar, and peppermint extract in a bowl and beat on medium speed until thick; medium peaks will form.


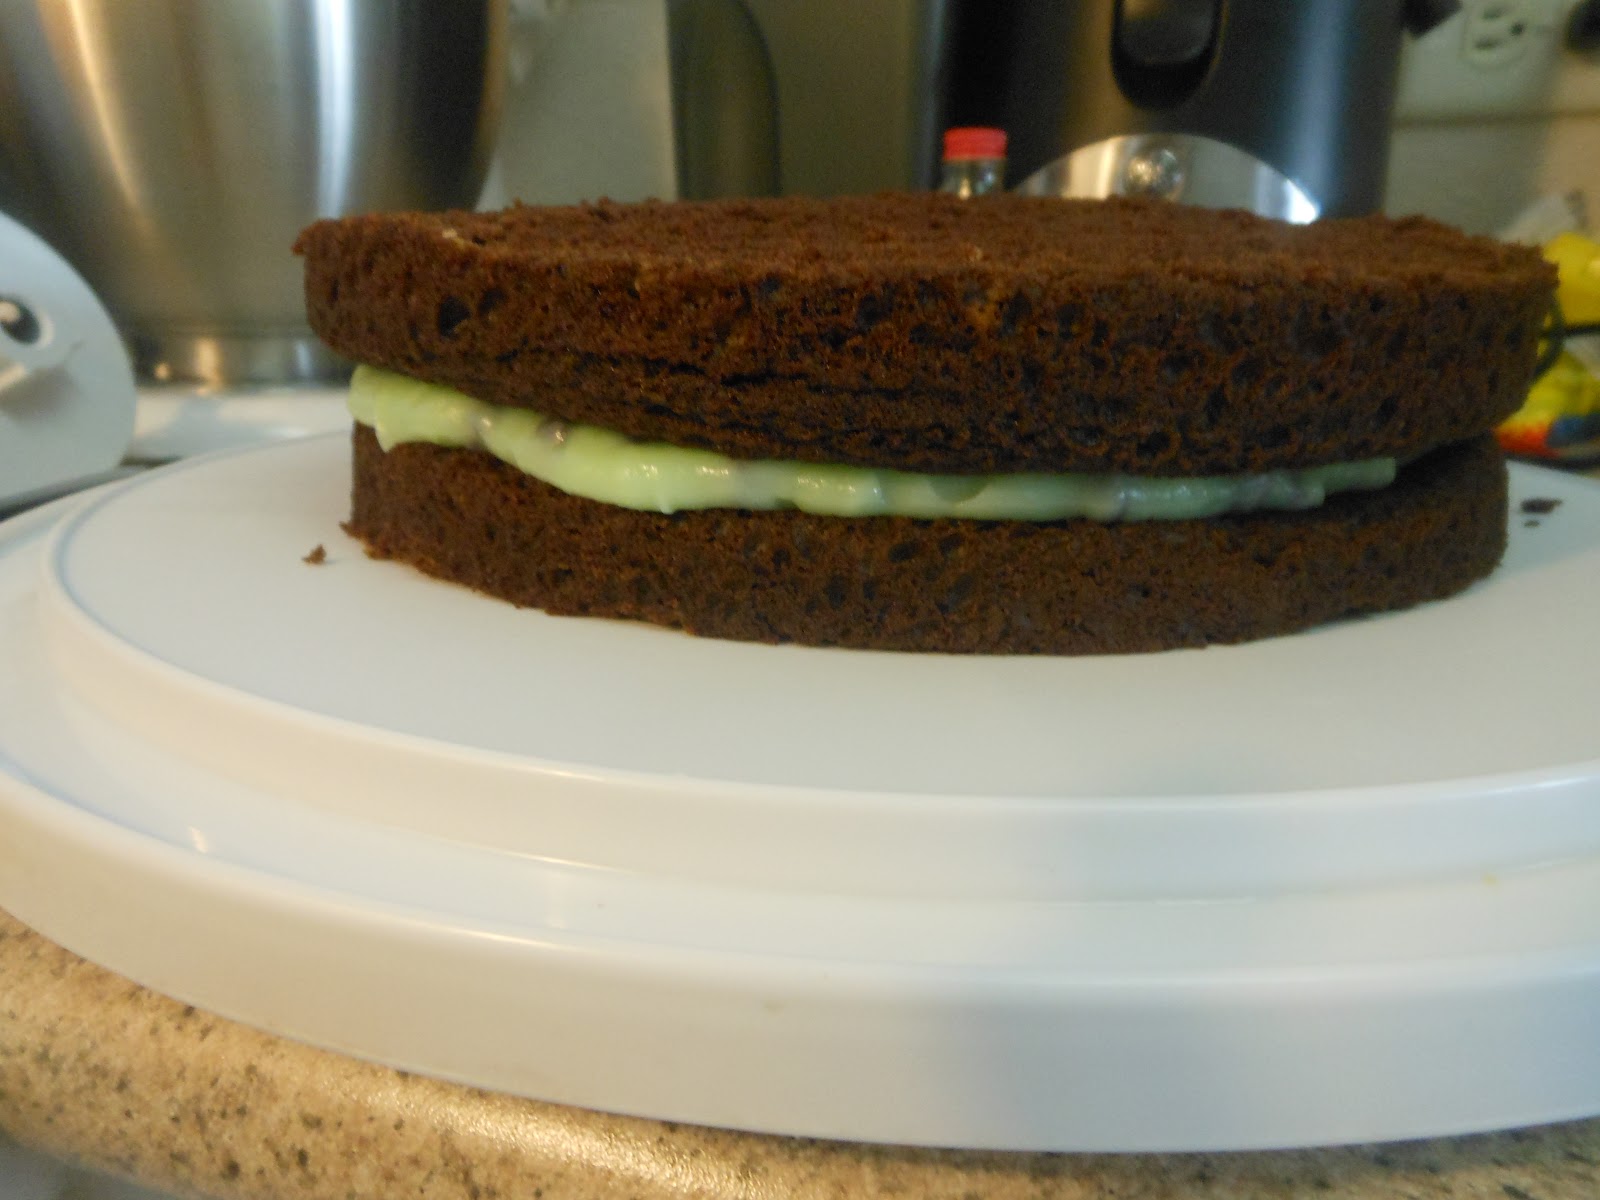
Now we are ready to assemble this wonderful cake. The recipe says to use 2 chocolate cakes; I actually took each chocolate cake and sliced in 1/2. Here's a picture to show what I'm talking about.

Place one cake down and then apply some of the custard filling on top.


Then take your topping and place that on top of the cake...it doesn't have to look pretty. Cause you are going to top it with more mini chocolate chips.


If you would like the challenge and make this cake here's the recipe for the cake part: Chocolate Cake Recipe
And here's the link for the filling, topping, and assembling: Filling, Topping, and Assembling instructions
ENJOY!!!
No comments:
Post a Comment