My Blessed Family!

My Blessed Family!

Wednesday, August 22, 2012

Baked Chicken with Buttery Lemon Parsley Noodles

Last one...then I'm finally all caught up on my blogs since vacation. 
This recipe is what I made last night for dinner.  I wasn't sure how I wanted to cook my chicken breast so I just went out on a limb and decided to bake it.  I like to start off my blogs now with a final picture....so while you are reading your mouth is watering. :)
I cut all the chicken breast in half and placed it in the cake pan.  Seasonings I used...um...lemon pepper, salt, pepper, season salt, and garlic salt.  Then I sliced some red pepper, green pepper, and onion and placed that on top.  Then sliced up 1/2 a stick of butter.  And this was my results before it was baked.

Now after......

All I did was bake it covered at 350 degrees for...well...not sure.  Till it was done approx. 30-45 minutes.  I think...you know I guess I should keep track of all this while I cook my own meals and don't have a recipe.  Sorry about that.
Now for the noodles.
Here's what you will need:

Pepper, salt, butter (yes more butter), lemon, pasta (spaghetti type of your choice), and parsley.  Mince the parsley really fine.

Cook the pasta like normal....boil water then place the pasta in the pot and cook till done.  I did take a picture of the pasta in the pot; but....I won't be a goober and post it. :)
When your pasta is done; drain and set aside.

Now melt your butter in a skillet.

Ok...that's a goober there. :)
While your butter is melting I would recommend zesting your lemon and squeezing the juice from the lemon.  It's much easier to have it all prepared. 
When your butter is melted toss your drained noodles in there.

Stir them around for a little bit.  Then toss in your 1/2 a lemon zest, lemon juice from a whole lemon, and salt and pepper.  I went outside the recipe and added a little bit of garlic salt. Now add in your parsley.

Toss around to mix it real well...and then you are done.  Very simple. 
Place your noodles on the plate.

Then plop that chicken on top.

Now dig in!!

Here's the recipe of just the noodles; the chicken is what I made on my own.
Click here for recipe!!

Ranch Chicken Sandwich - Trust me there's no ranch in this

Then why in the world is it called Ranch Chicken Sandwich?  Who Knows?  Oh yeah I do....Pioneer Woman knows.  It's probably because she made it on the Ranch.  You think?  Well since we don't know for sure that's what we are going to roll with.
How funny...I just realized that the chicken was much bigger than the bun.  I didn't notice that when I ate it cause I was too excited to dig on in.
Here's what you will need for this:

Let's see; we have chicken breast, bacon, cheese, pepper, honey, red pepper flakes, paprika, lemon, salt, and Dijon mustard.  Nope no ranch in there.

For this recipe you will need to allow 2-4 hours before actually cooking them.  This is for the marinading stage.
With a sharp knife slice your chicken breasts in half.
Don't be like me and make some of them VERY uneven.  Try your best to make the chicken breasts even.
In a big bowl combine the honey, Dijon mustard, paprika, salt, pepper, lemon juice and crushed red pepper flakes (only if you are using these).
  Stir to combine and then add in your chicken breast and coat them well.
Now just place plastic wrap (you know that stuff that I dislike) over the top and place in the fridge for 2-4 hours.  When the marinading time is up start cooking your bacon.

As well as getting your GF grill prepared.  You can actually use the grill outside if you wish.  Then when the grill is ready just throw the chicken on there.


When your chicken is cooked completely put the bacon on top.

 Then just be bad and top it with some cheese.


The bacon and chicken will be hot enough to melt the cheese.  Then place it on a toasted bun and dig right on in.

If you wish to make this very yummy sandwich here's the recipe.

Cooked PB&J Sandwich

You are probably thinking that I'm one crazy person cooking a PB&J sandwich...not normal huh?  Do you like peanut butter that's all melted and oozing out of your bread?  If so.....this is the thing to cook. 
This is a picture of my husband's plate; by the time I went to take the picture of the peanut butter oozing from his sandwich he already had 1/2 of it eaten.  This was his first time eating it...I guess he liked it. 

Just make your peanut butter and jelly sandwich like your normally do.
As you can see one liked grape jelly and one like strawberry.  The Fruit of the Spirits not a "strawberry" the Fruit of the Spirits not a "Strawberry" cause if you wanna be a strawberry you might as well hear it; you can't be the Fruit of the Spirit.  Cause the Fruit is Love, Joy, Peace, Patience, Kindness, Goodness, Faithness, Gentleness, and Self Control.  Oops sorry...when I hear Strawberry it makes me think of the Fruit of the Spirit. 
Ok back on track here.
Melt about a tablespoon of butter in your skillet.
And while that's melting mix together; egg, a little bit of milk, and some cinnamon.

I can't say how much to use...just use your judgement; that's what I did.
Mix that all together real well then dip your PB&J sandwich in it.
Make sure to coat both sides.  Once you have that coated real well on both sides place it in your skillet with the melted butter.

Cook it evenly on both sides.  That picture there is after I had already flipped it.  Don't that look pretty?
After it's cooked on both sides remove it from the skillet and place it on a plate.  Then you re ready to dig in.
Now don't that look good???  Enjoy!

Tuesday, August 21, 2012

Chocolate Mint Brownie Bites

Chocolate and Mint and Brownie..oh what a great combination. Here's what I have made:

Since making these for the first time I've made them again for some wonderful guest I had at my house.  They are just so good...and they just melt in your mouth.
So I started off by spraying a mini muffin pan with non-stick spray.  Make sure to get in all creases so that your brownies don't stick.
I know I'm such a goober I didn't have to take this picture.  But I've been bragging to a couple of people how I take a picture of every step; so I had to make sure that I put this picture in there. 
Now let's melt the unsweetened chocolate in a bowl in the microwave.  I know that you know that we both know that you will need to use a microwavable safe bowl; you know...that's the smart thing to do.  Don't ya' think?


 Yes that bowl is microwavable safe.  Thank you so much for making sure.  How sweet of you.  As soon as you remove the bowl from the microwave (after the chocolate is melted of course) now it's time to add in 8 andes mints.
Please make note...remove the wrapper before placing them into the bowl. 
Stir until all the Andes mints are melted and then set aside and let cool slightly.  Now we are going to get our other ingredients together. 
In a mixer cream 1 stick of butter and your sugar together. 

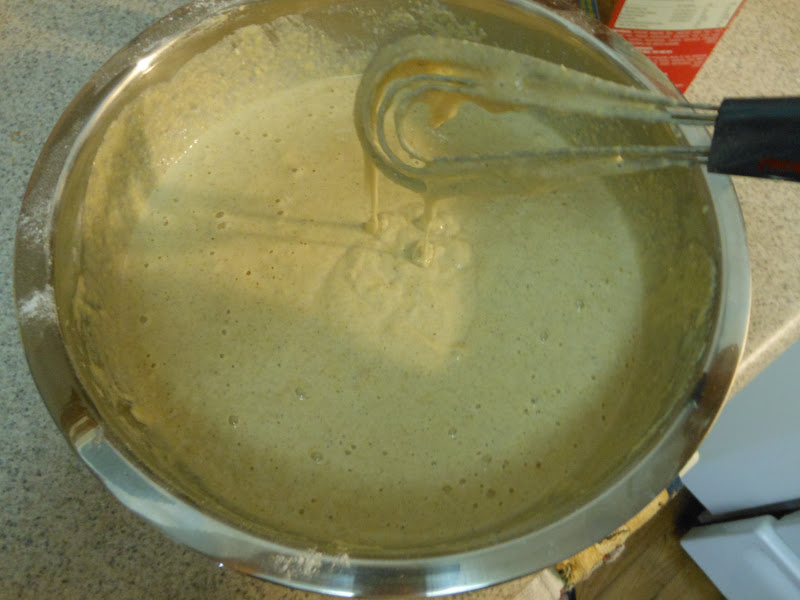
Then add in your eggs; one egg at a time.  Once that's mixed together now it's time to turn the mixer on low and add in your slightly cooled chocolate mixture.

Look how pretty it's lookin'.  After it's all combined together then add in your flour. 

Mix well.  If you want a little more mint taste in the brownie batter then add in some mint extract.  Once you have it all mixed together then let your children or even you lick the beaters.


Using a cookie scoop, scoop the batter into the mini muffin tins. 

Bake for 13 to 15 minutes.  Once the brownies are done then turn upside down out of the pan.
I was so proud of these brownies...they came out of the pan and didn't stick.  Way to go me! :)
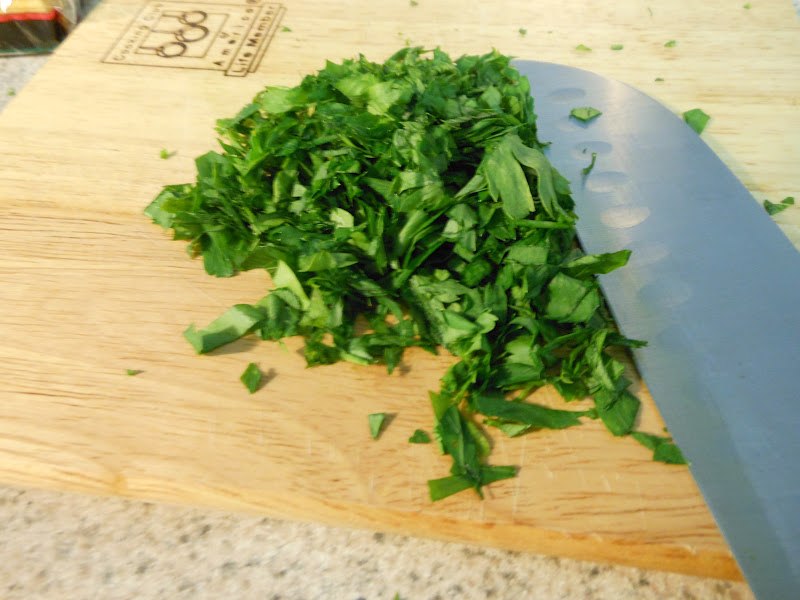
While these are cooling let's prepare the topping.  Unwrap 25 Andes mints.

In with the mints put a tablespoon of butter and chopped bittersweet chocolate.  Melt in the microwave until smooth.  Once your brownies have cooled completely dip the brownie bites in the chocolate, make sure you just put the cone part in the chocolate.

Allow the chocolate to set for a few minutes and then add some chopped Andes mints on top.

Then take one and ENJOY! 

I have the recipe....do you want it?  No I don't think so.  You know I made these here for work and I was talking with one of the ladies in my dept. and she said without knowing that I made them...she said that the mints things looked like someone bought them from a fancy pastry place.  Made me feel good...cause then I told her that I made them.....

Here's the recipe; make them..have someone be awwwed by it.  Let me know how they turn out.
Click here for the recipe!

Saturday, August 11, 2012

Sausage Pancakes on Sticks


Where have I been????  Vacation!!!  Me, my husband, my kids, and my sister and her husband and kids all were together and had a great time at JellyStone Yogi Bear Park.  Our menu for breakfast, lunch, and dinner was decided almost 4 months before vacation.  One morning 4 months in advance we decided on french toast.  As each month went by I kept on thinking that's really going to use alot of bread, but what could we have in it's place?  I had no clue at all until I watched the episode of Pioneer Woman when Ree made sausage pancakes on sticks.  Oh how great and easy will that be.  I figured I would make them the Friday night before we even left on vacation and then when that morning came we could just heat them up. 
So here I am that Friday night ready to get things cookin'!
First cook the breakfast sausages just like the package says.

The recipe doesn't call for that many but I was making 2 helpings of it since I had alot of mouths to feed.
In a large bowl, combine the cake mix, cornmeal, and cinnamon.                                                         Stir until mixed well together.

In a separate bowl combine the eggs and vanilla and then add that to the dry mixture.  Then adding water to get it to the right consistency.
Perfect!  Now time to assemble them.
Well first get your oil into a pot (hint....make sure the pot is big enough) and get it heating up while you start to assemble.  The sausages should be done by this time.

Now take a sausage and a chop stick (these are good to use since they don't have a point on them) and stick the chopstick into one of the ends of the sausage.  It's good to only stick the chopstick to where it's half way into the sausage.


Dip the sausages into the batter and allow the excess batter to drip off. 


Then when your oil is heated to 350 degrees it's time to drop in your sausage pancakes on a stick.   Make sure that when it's placed in the pot it doesn't touch the bottom of the pot cause it will stick and burn.  Flip it throughout the frying stage to make sure that it gets brown evenly.  Once it's a golden brown time to remove it from the oil.
Serve with warm syrup...Yum Yum!!!

Time to enjoy them yourself here's the recipe: Click here for recipe